Supplies
- Simple slotted curling tool (or make your own)
- Quilling paper strips (The most common width however is the strip of 1/8″. You can buy the strips pre-cut or make it yourself from scrapbook paper)
- Glue
- Other tools you may want to use: workboard, tweezers, toothpicks, straight pins
Instructions
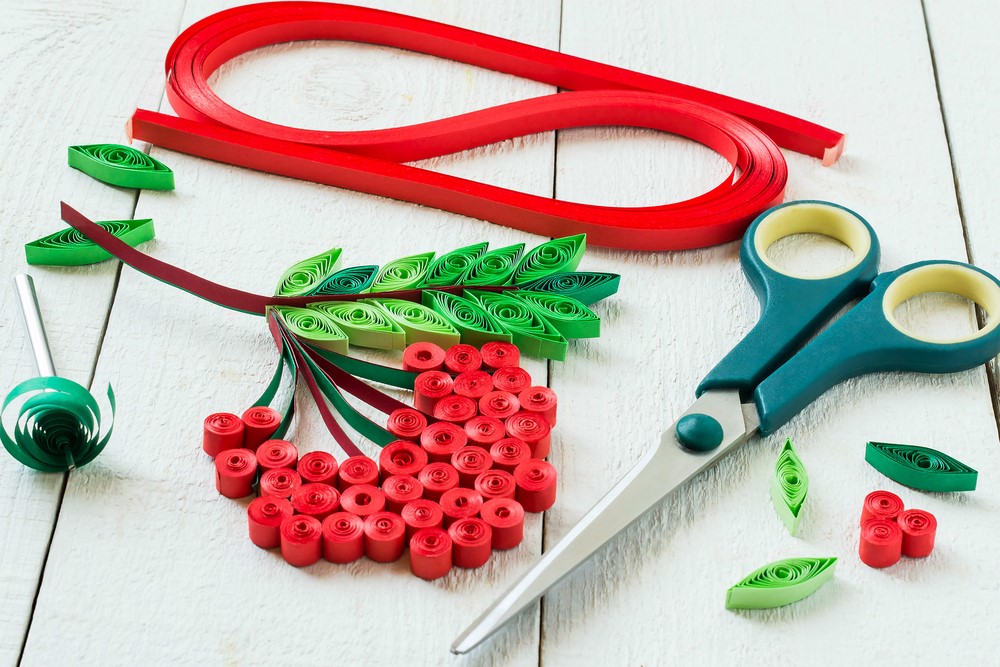
- To make the flower type project seen in the photo, you’ll need at least 1 color for the blossoms and 1 colors for the leaves
- Using the slotted curling tool, insert the end of one strip of the paper used for the blossoms and begin winding it around
- Once the entire piece of wound around the tool, remove it, holding it to keep the shape
- You can use a form to ensure all of the circles are exactly the same but it is not required (you can also use alternative tools as seen in the DIY tools video)
- Add a small dot of glue on the end of the paper strip to secure it in place and keep from unraveling
- Repeat until you have all of the flower blossoms
- -To make the leaves, repeat the initial process of winding the paper – when removed from the tool, allow it to expand slightly and then glue the end
- Pinch two opposite sides of the circle to create the leaf shape
- For the stems, layer paper strips (the number of stems you’ll want going to the blossoms, plus 3) and glue at one end (be sure not to glue past where the papers will separate to make different stems.
- Arrange all of the pieces and beginning gluing your leaves and blossoms to each other and to the stems as you prefer
- There are an infinite number of designs you can create from basic shapes – check out the video on how to make 35 Basic Quilling Shapes for inspiration for your own design!
WANT MORE?
Find more things to See Learn & Do!
Thank you to our sponsors